Printing Panoramic Photos From iPhone: 3 Ways That Work
 By the Smart Printer team · Updated · 4 min read
Short answer
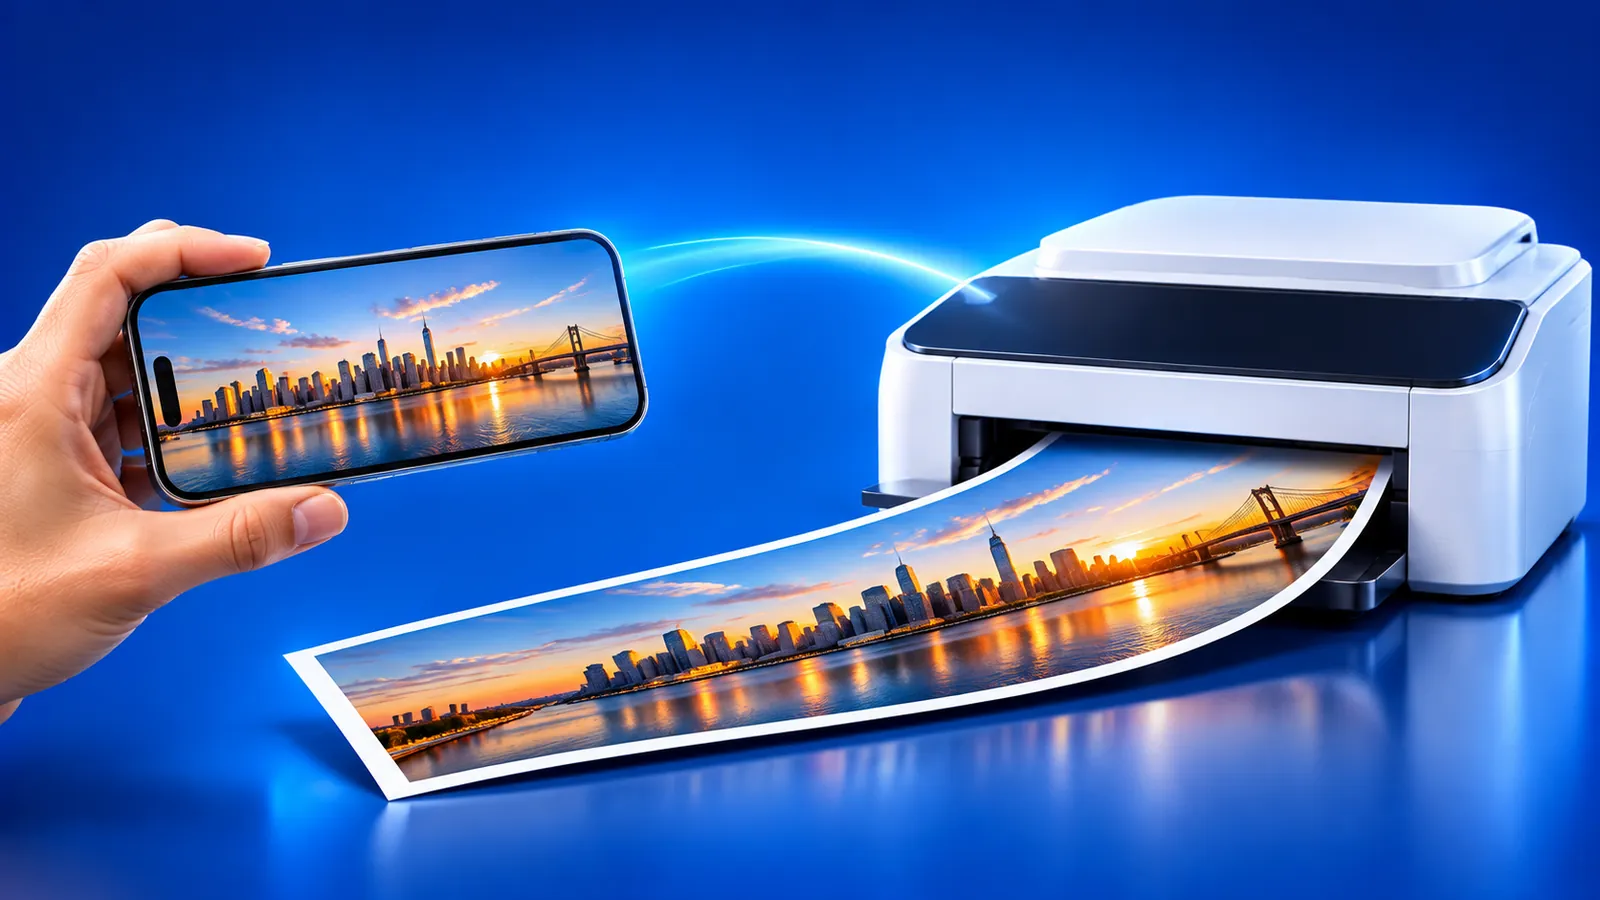
Printing panoramic photos from iPhone works 3 ways: fit it on one sheet, split it across 3 sheets, or order a wide lab print. One sheet is quick but leaves wide white margins. Smart Printer sets orientation, scale and margins for the two home options, and labs offer sizes such as 4x12 inches.
Contents
Why panoramas print badly by default
A panorama is several times wider than it is tall. A Letter or A4 sheet is only about 1.3 to 1.4 times as long as it is wide. Fitted to the sheet, the panorama becomes a thin strip with big white bars above and below.
Standard photo paper has the same issue. A 4x6 print leaves most of the sheet empty.
What counts as a panorama on iPhone
The Camera app has a Pano mode. Tap the shutter, move the phone slowly in the direction of the arrow, then tap the shutter again. The result is one long image, often thousands of pixels wide. Apple explains Pano mode in Take panoramic photos with your iPhone camera.
Because the picture is so wide, the pixels cover a lot of print length. A strip printed at 12 inches long still has plenty of detail, while the same file stretched across a wall will look soft.
Way 1: fit it on one sheet
This is the fastest option. Expect a small picture, so use it for a quick preview.
- Open Smart Printer and choose the panorama from your photos.
- Set the orientation to landscape.
- Set margins to the smallest value and choose the paper size in the tray.
- Print one copy and check the result.
Without the app, open the panorama in Photos, tap Share, then Print. The print options you get depend on your printer. Apple describes the Share and Print path in its AirPrint guide.
Way 2: split it across several sheets
A panorama can fill a wall strip if you print it in parts and join the sheets edge to edge.
- In Photos, open the panorama, tap the More button, then Duplicate. Repeat until you have three copies.
- Open the first copy, tap Edit, then Crop, and drag the frame over the left third. Tap Done.
- Crop the second copy to the middle third and the third copy to the right third.
- Print each part on its own sheet in landscape, with margins set to the minimum.
- Trim the white edges and tape the sheets from behind, left to right.
Many home printers can't print to the edge of the sheet. Trim each print right up to the picture so the parts meet without a white line.
Way 3: order a wide print from a photo lab
Photo labs and online print shops sell panoramic sizes that match the shape of the picture, such as 4x12 inches. The print comes on photo paper and needs no joining.
Check each shop's size list, then upload the original photo from your iPhone. Our guide on where to print from your phone covers shops that print from a phone.
Paper sizes to consider
Look at standard formats before you choose. The photo paper sizes page lists them, and our 4x6 photo size tool shows how a photo fits that sheet. Few home printers take extra long panoramic paper, so labs and wide-format printers handle most of it.
Quick checks before you print
- Open the panorama in Photos and make sure the horizon looks straight. Fix it with Edit if it leans.
- Remove stitching glitches by cropping the edges, where moving people or cars often break.
- Decide the final length first. The longer the print, the more sheets or the bigger the lab order.
- Print a small test strip before you commit paper and ink to the whole panorama.
Printing panoramas from other places
The steps work from an iPad as well. Our guide on print from iPad covers the same Share and Print route. If the printer does not show up, check why you can't print from your phone.
What to remember
- Panoramas are much wider than standard paper, so they print small by default.
- One sheet is quick, several sheets give a bigger result.
- Photo labs sell wide prints that match the panorama's shape.
- Set orientation and margins before you print.